Homeschool Science Activity: Chocolate Chip Cookie Chemistry

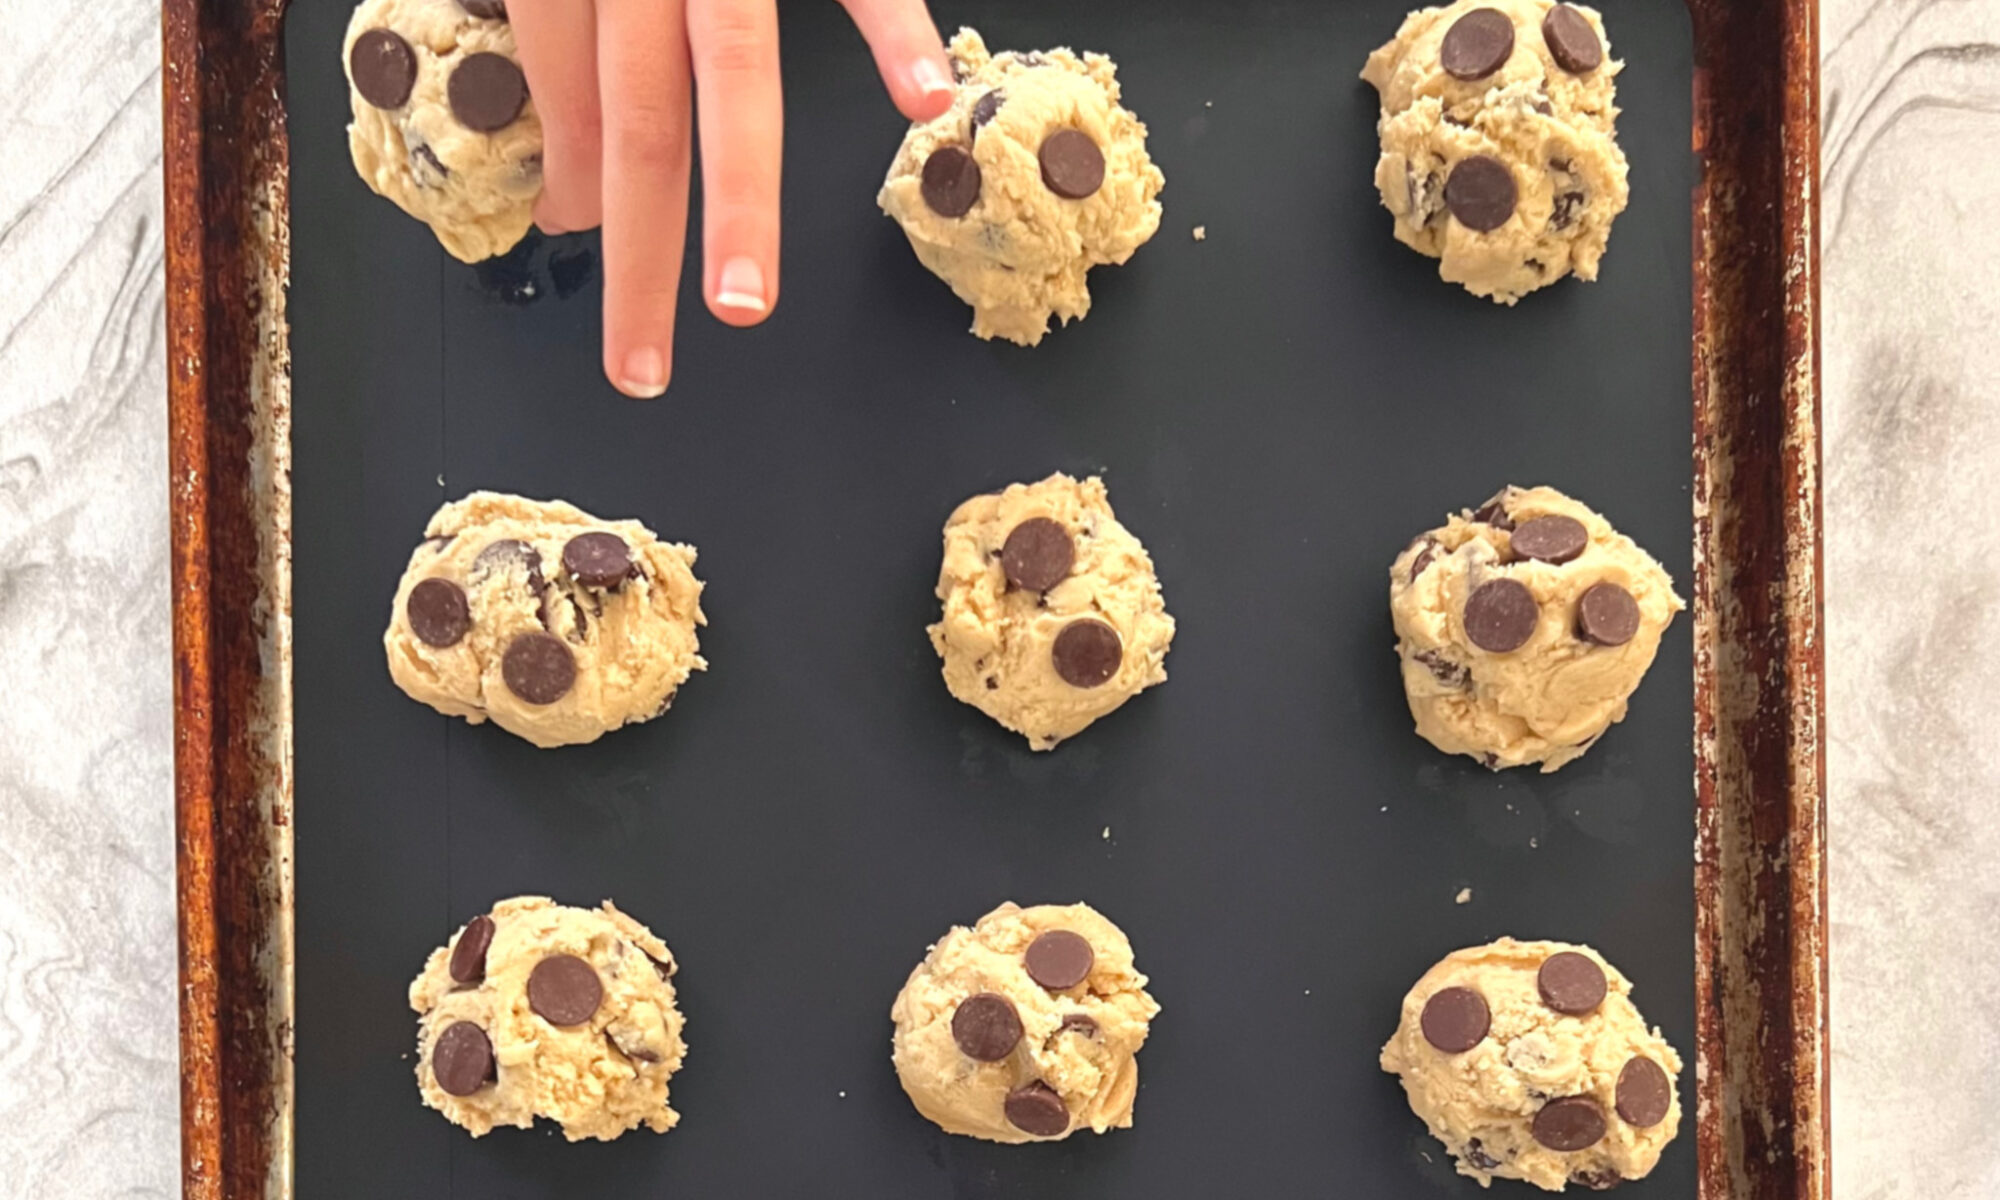
Homeschool Science Activity: Chocolate Chip Cookie Chemistry - Balls of Chocolate Chip Cookie Dough on Baking Pan with Silicone Mat Child Hand is Placing Last Ball of Cookie Dough

Homeschool Science Activity: Chocolate Chip Cookie Chemistry

Blair Lee, M.S.

Kitchen Chemistry: A Homeschool Science Activity

What’s better than baking cookies? Turning it into a homeschool science activity! Baking is more than just mixing ingredients; it’s a delicious chemistry experiment you can eat. In this fun and educational activity, you’ll explore the chemical reactions responsible for turning raw ingredients into a delicious snack, making it a perfect blend of science and baking. Ready to combine learning and flavor? Let’s dive into this tasty lab inspired by Blair Lee’s kitchen chemistry class!

Edible Chemistry

All cooking involves chemistry. The ingredients are the reactants and what is made is the product. When developing new chemistry experiments in and out of the kitchen, a good scientist only changes one thing at a time. That is important, because if changes are observed, scientists want to know what has caused the change.

While making this recipe, you will investigate how changes in one reactant changes the product. You will halve a batch of cookies and put all chocolate chips in one of the batches and in the other batch, you will use two types of chips: half chocolate chip cookies and half chips of another flavor.

Equipment

  •     2 Baking Sheets – Lined with parchment paper or a silicone mat (If you do not have either of these, the cookies can be baked without them)
  •       Liquid Measuring Cups
  •       Dry Measuring Cups
  •       Measuring Spoons
  •       Mixer
  •       Spatula
  •       Dish towel
  •       Timer
  •       Oven Mitts
  •       Pencil

Ingredients

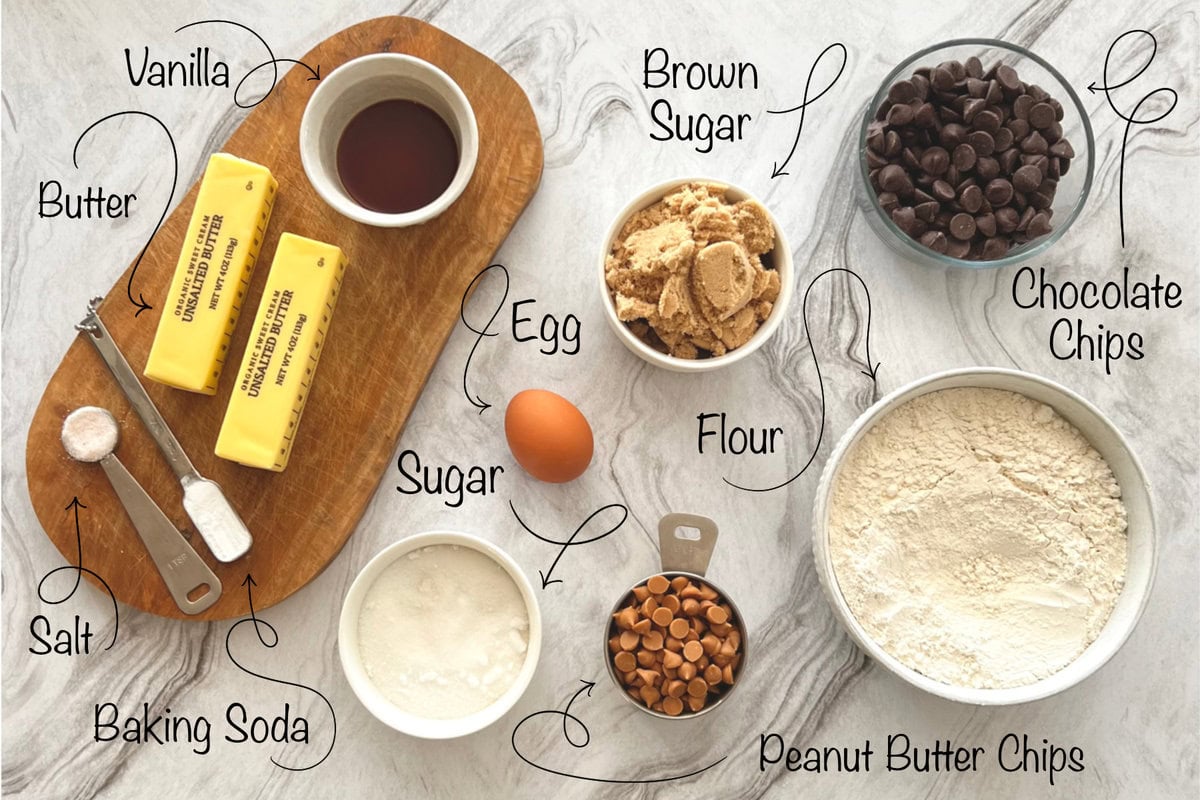
  • 1 cup butter, softened or butter substitute
  • 3/4 cup white (granulated) sugar
  • 3/4 cup light brown sugar, packed
  • 2 tsp pure vanilla extract
  • 1 large egg or egg substitutes
  • 2 ¼ cups all-purpose flour
  • 1 tsp baking soda
  • 1 tsp salt
  • 1 ½ cups chocolate chips, divided into 1 cup of chips and ½ cup of chips  
  • ½ cup white chocolate, peanut butter, OR butterscotch chips
Homeschool Science Activity: Chocolate Chip Cookie Chemistry - Flat Lay of Cookie Ingredients with Labels

Instructions

1.  Preheat oven to 375 degrees F (375F). Line a baking pan with parchment paper or a silicone mat and set aside.

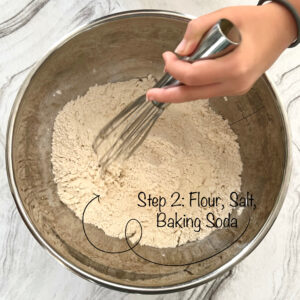
2.  In a separate bowl, mix flour, baking soda, salt, and baking powder. Set aside.

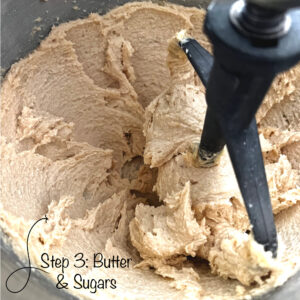
3.  With the mixer, cream together butter and sugars until combined.

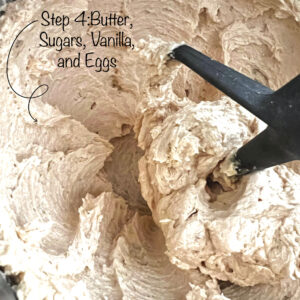
4.  Beat in eggs and vanilla until fluffy.

Chocolate Chip Cookie Chemistry Activity: Bowl on Table with Hand Whisking Flour, Baking Soda, and Salt Together
Homeschool Science Activity: Chocolate Chip Cookie Chemistry - Butter, Brown Sugar, White Sugar Being Mixed Together in Stand Mixer
Chocolate Chip Cookie Chemistry Activity: Mixing butter, sugars, vanilla, and eggs in stand mixer.

5.  Mix in the dry ingredients until combined.

6.  Divide the dough in half. Put one of the halves back into the mixer and add one cup of chocolate chips. Mix these into the dough.

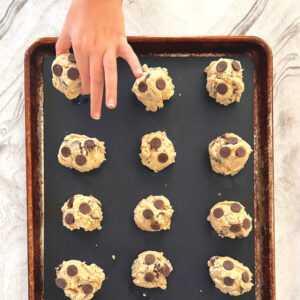
7.  Roll 2-3 TBS (depending on how large you like your cookies) of dough at a time into balls and place them, evenly spaced, on your prepared cookie sheets. (Alternatively, you can use a small cookie scoop to make your cookies).

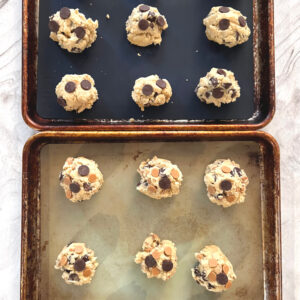
8.  Make the other half of the dough. Add ½ cup of chocolate chips and ½ cup of the other chips. Mix these into the dough. Form into cookies, as you did in the previous step.

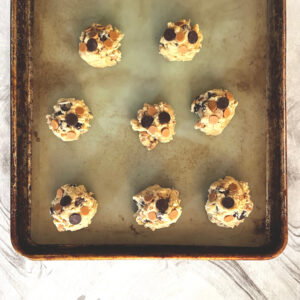
Homeschool Science Activity: Chocolate Chip Cookie Chemistry - Balls of Chocolate Chip Cookie Dough on Baking Pan with Silicone Mat Child Hand is Placing Last Ball of Cookie Dough
Chocolate Chip Cookie Chemistry Activity - Two Pans of Balled Cookie Dough Ready to be Baked - One Chocolate Chip and One Peanut Butter Chip
Chocolate Chip Cookie Chemistry Activity - Balls of Peanut Butter Chocolate Chip Cookie Dough on Pan Ready to Bake

Checklist

o   My ingredients are set out and ready.

o   My equipment is set out and ready.

o   I have cleaned the counter where I will prepare food.

o   I washed my hands with antibacterial soap.

o   I have gathered my safety gear (oven mitts).

o   The oven is set to the correct temperature.

o   I wrote a hypothesis.

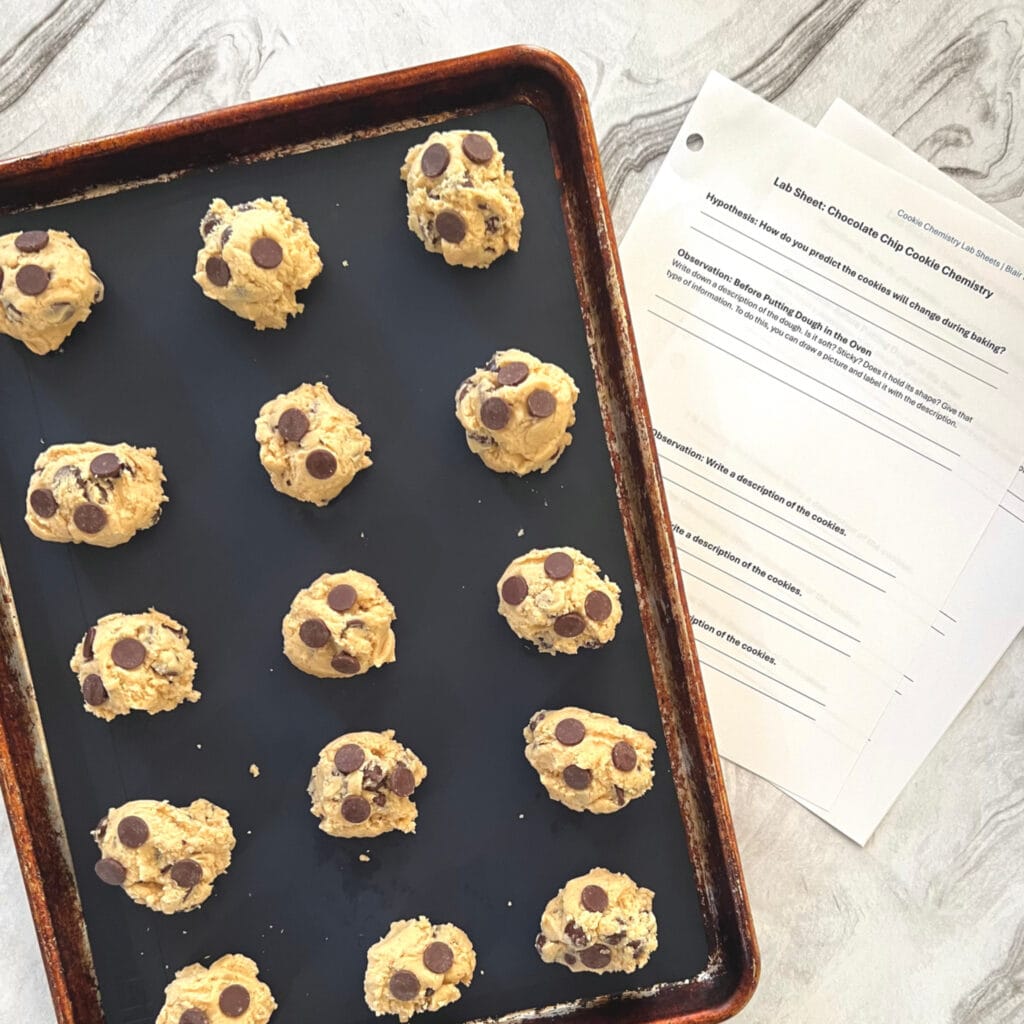
Homeschool Science Activity: Chocolate Chip Cookie Chemistry - Pan of Chocolate Chip Cookie Dough Ready to be Baked with Lab Sheets

Chocolate Chip Cookie Lab - Observations

When you slide the pan into the heated oven, it sets off a series of chemical processes and reactions that transform the reactants in the dough to cookies.

Butter Melts First

When you put the cookies in the oven, the dough starts to heat up. As it does, a series of processes happen, starting with butter. The melting point of butter is 92F. The melting point of most nondairy substitutes is even lower. When the butter starts to melt, the dough spreads.

Butter is made of water, fat, and milk solids. At 100F, the water in the butter starts to steam as the butter is melting. When water steams, it needs to escape the dough. This causes the cookies to expand.

Taking Shape

When the dough reaches 150F, proteins in the egg (or egg substitute) begin to take shape. They go from runny to solid.

Water Boils in Cookies, Too

When the dough reaches 212F, water boils away, drying out the cookies.

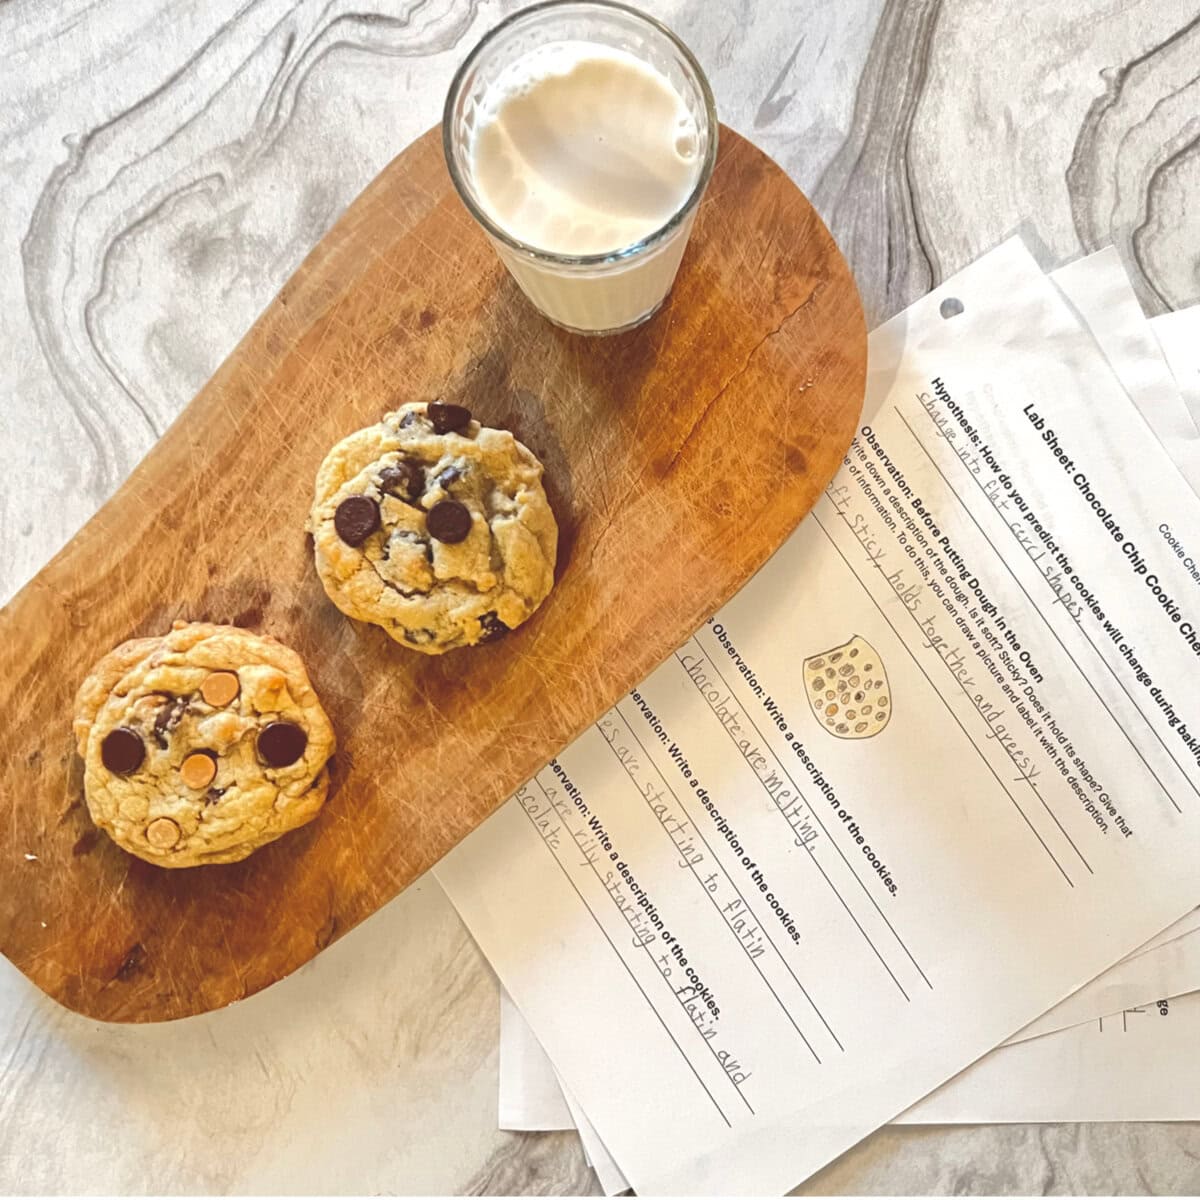
Homeschool Science Activity - Chocolate Chip Cookie Chemistry - Two Cookies Sitting on Board with Glass of Milk, Chocolate Chip Cookie Chemistry Lab Sheets Sitting Next to Cookies

Chocolate Chip Cookie Chemistry Lab

Leavening Agents

As the water boils away, the baking soda reacts with a type of chemical, called an acid, in the dough. Baking soda is a leavening agent. A leavening agent is a chemical added to dough or batter that, in the cooking process, goes through a chemical reaction.

One of the products of the reaction is a gas (carbon dioxide) that causes the dough to rise. This creates airy pockets in the cookies.

Chocolate Chip Cookie Aroma

When the dough reaches 310F, a chemical reaction called the “Maillard reaction” occurs. When this reaction occurs, sugar and proteins react with each other. At this point, the cookies begin to brown. The Maillard reaction gives cookies a characteristic flavor. You can smell this reaction occurring when you start to smell the cookies.

The Maillard reaction is discussed more in depth through the course.

Caramelizing Sugar

When the dough reaches 356F, sugar in the cookies undergoes a chemical change. This is called caramelization. Caramelization changes the taste of the cookies to have a slightly caramel flavor.

Homeschool Science Activity: Chocolate Chip Cookie Lab - Woman and Child Placing Cookies on Baking Sheet

Turn Baking Into a Homeschool Science Activity

Exploring the science behind baking can transform a simple recipe into an engaging learning experience for young minds. By using this recipe as a homeschool science activity, you can teach valuable lessons about chemical reactions, observation, and the scientific method—all while enjoying delicious homemade cookies. From the Maillard reaction to the role of leavening agents, every step in this tasty experiment brings chemistry to life in a fun, hands-on way. So, gather your ingredients, hypothesize, and bake your way to both learning and sweet satisfaction!

Don't Forget Your Lab Sheets!

Don’t forget to download the lab sheets to enhance your homeschool science activity! With the lab sheets in hand, this baking experiment becomes an exciting opportunity to blend hands-on learning with tasty treats. Print them out, gather your ingredients, and get ready for a delicious dive into kitchen chemistry!

Explore More: Chemistry Courses and Free Homeschooling Resources

This article is a sneak peek into an upcoming kitchen chemistry course designed to make science fun, engaging, and delicious! Packed with hands-on experiments like this chocolate chip cookie lab, the course will explore the fascinating chemical processes that happen right in your kitchen. Stay tuned for its release, and in the meantime, check out some of our other chemistry courses that dive into topics like atoms, molecules, the periodic table, chemical reactions, and more.

Did you know that this article was originally published in our free online magazine, which features educational content, creative ideas, and other essential homeschool resources?! Don’t miss out—sign up today and get inspired to bring science to life in your homeschool!


Free Homeschool Resources: Online Museum Offerings

Free Homeschool Resources: Online Museum Resources - Child Stands in Front of Museum Wall Staring at Art

Free Homeschool Resources: Tapping into Online Museum Offerings

Deirdre Palmer, MAT

Enrich Your Curriculum with Free Homeschool Resources: Online Museum Tools for Engaging Teaching and Learning

How can online museum resources invigorate teaching and learning? How can these free homeschool resources complement and enrich curriculum? As an example, the National Gallery of Art in Washington, DC offers free online learning resources for Pre-K through 12th grade educators.

Online lessons, downloadable high-resolution images, and self-paced courses provide educators with tools to help students actively engage with works of art. Suggested looking exercises, essential questions, and activities are designed to encourage students to observe, describe, and reason with evidence as well as think critically and imaginatively. Through conversations around works of art, students can connect to prior knowledge and further their understanding of different subject areas.

Online Lessons

Dozens of online lessons for Pre-K -12 educators are arranged by grade level and broken down into six categories: History, English Language Learners, Math, Science, Elements of Art, and Writing. Each lesson includes background information, featured works of art, open-ended questions, and activities. 

Uncovering America connects art and US history in thematic modules that address a range of topics from the Industrial Revolution to the environment to immigration to the Civil Rights Movement. These lessons provide strategies to use works of art as primary resources that help students connect to and build upon their knowledge of US history.

Free Homeschool Resources: Online Museum Resources - Child Stands in Front of Museum Wall Staring at Art

Lessons designed for English Language Learners (ELL) build students’ comprehension as well as speaking and writing skills. Through looking and discussion prompts, students “read” a work of art and practice their language skills by describing the plot and setting. Students then reason with evidence and think imaginatively to consider what the plot might be.

Art can be a vehicle through which students learn math concepts. Elementary school students practice fractions, addition, and subtraction through an exploration of Wayne Thiebaud’s painting Cakes. Through careful examination of Alexander Calder’s mobiles, middle school students can learn about balance. 

Portraits, sculptures, history paintings, genre scenes, and landscapes can serve as powerful sources of inspiration for creative writing. Lessons designed for 5th-12th grade students include prompts for activities such as composing poems, writing journal entries, and creating first-person monologues. 

Art Tales for Pre-K pairs children’s literature with works of art from the National Gallery’s collection. Each unit focuses on a specific artist and includes questions that will encourage young learners to observe and describe as well as thinking critically and imaginatively. Learners make connections between the book, the artist, and the work of art through a simple, culminating art activity. 

Woman holding up a watercolor image of the color wheel to show children seated at a table with painting supplies.
Children seated at a table painting. Woman stands at table instructing the children.

Downloadable High Resolution Images

On NGA Images, there are more than 53,000 high resolution images from the National Gallery’s collection that are available to download free of charge. Create an account to download images, access advanced search options, and create personalized lightboxes.

Online Course

In the self-paced course, Teaching Critical Thinking through Art with the National Gallery of Art, educators learn how to use strategies adapted from Artful Thinking pedagogy, developed by Project Zero at the Harvard Graduate School of Education. By registering for this free online course, educators have access to lesson plans, immersive activities, and discussion boards. The course also includes demonstration videos of classroom and museum educators facilitating lessons for students of varying ages.  

Virtual Family Programs

During the family program, Virtual Artful Conversations, museum educators lead participants in a 60-minute guided conversation of a work of art from the National Gallery’s collection. This program is recommended for children ages 7-12 years old accompanied by an adult.

Free Homeschool Resources, Online Museum Resources - Children Play at a Museum Display

Additional Free Homeschool Resources

Take a deep dive into free homeschool resources and education programs offered by the National Gallery of Art and other museums across the US (and the world!) to discover ways to energize teaching and learning!

Exploratorium, Learning Toolbox

National Museum of African American History and Culture, Talking about Race

National Museum of American History, History Explorer

National Museum of the American Indian, Native Knowledge 360˚

Philadelphia Museum of Art, Looking to Write, Writing to Look

Incorporating online museum resources into your homeschool curriculum can open new avenues for creativity, critical thinking, and deep exploration across subjects. Museums like the National Gallery of Art provide engaging, free tools that bring history, literature, math, and science to life through the lens of art. Whether you’re teaching young learners to observe and describe or guiding older students in connecting art to historical events, these resources enhance and energize learning experiences.

For more tips on designing a well-rounded history program, check out our guide on Homeschool History: How to Plan It.

Meet the Author!

Deirdre Palmer has worked as a museum educator with school tours and docent programs at the National Gallery of Art since 2006. She develops and conducts school tours for students 4 years old through 12th grade and manages a corps of 85 volunteer docents. Deirdre also teaches family programs, facilitates professional development sessions for teachers, leads programs for the general public, and works with the Gallery’s outreach program, Art Around the Corner. She has at BA in Art History from the University of North Carolina-Chapel Hill and a M.A.T. with a concentration in museum education from The George Washington University. Deirdre can be reached via email at d-palmer@nga.gov.