Homeschool Science Activity: Chocolate Chip Cookie Chemistry
Blair Lee, M.S.
Kitchen Chemistry: A Homeschool Science Activity
What’s better than baking cookies? Turning it into a homeschool science activity! Baking is more than just mixing ingredients; it’s a delicious chemistry experiment you can eat. In this fun and educational activity, you’ll explore the chemical reactions responsible for turning raw ingredients into a delicious snack, making it a perfect blend of science and baking. Ready to combine learning and flavor? Let’s dive into this tasty lab inspired by Blair Lee’s kitchen chemistry class!
Edible Chemistry
All cooking involves chemistry. The ingredients are the reactants and what is made is the product. When developing new chemistry experiments in and out of the kitchen, a good scientist only changes one thing at a time. That is important, because if changes are observed, scientists want to know what has caused the change.
While making this recipe, you will investigate how changes in one reactant changes the product. You will halve a batch of cookies and put all chocolate chips in one of the batches and in the other batch, you will use two types of chips: half chocolate chip cookies and half chips of another flavor.
Equipment
- 2 Baking Sheets – Lined with parchment paper or a silicone mat (If you do not have either of these, the cookies can be baked without them)
- Liquid Measuring Cups
- Dry Measuring Cups
- Measuring Spoons
- Mixer
- Spatula
- Dish towel
- Timer
- Oven Mitts
- Pencil
Ingredients
- 1 cup butter, softened or butter substitute
- 3/4 cup white (granulated) sugar
- 3/4 cup light brown sugar, packed
- 2 tsp pure vanilla extract
- 1 large egg or egg substitutes
- 2 ¼ cups all-purpose flour
- 1 tsp baking soda
- 1 tsp salt
- 1 ½ cups chocolate chips, divided into 1 cup of chips and ½ cup of chips
- ½ cup white chocolate, peanut butter, OR butterscotch chips

Instructions
1. Preheat oven to 375 degrees F (375F). Line a baking pan with parchment paper or a silicone mat and set aside.
2. In a separate bowl, mix flour, baking soda, salt, and baking powder. Set aside.
3. With the mixer, cream together butter and sugars until combined.
4. Beat in eggs and vanilla until fluffy.


5. Mix in the dry ingredients until combined.
6. Divide the dough in half. Put one of the halves back into the mixer and add one cup of chocolate chips. Mix these into the dough.
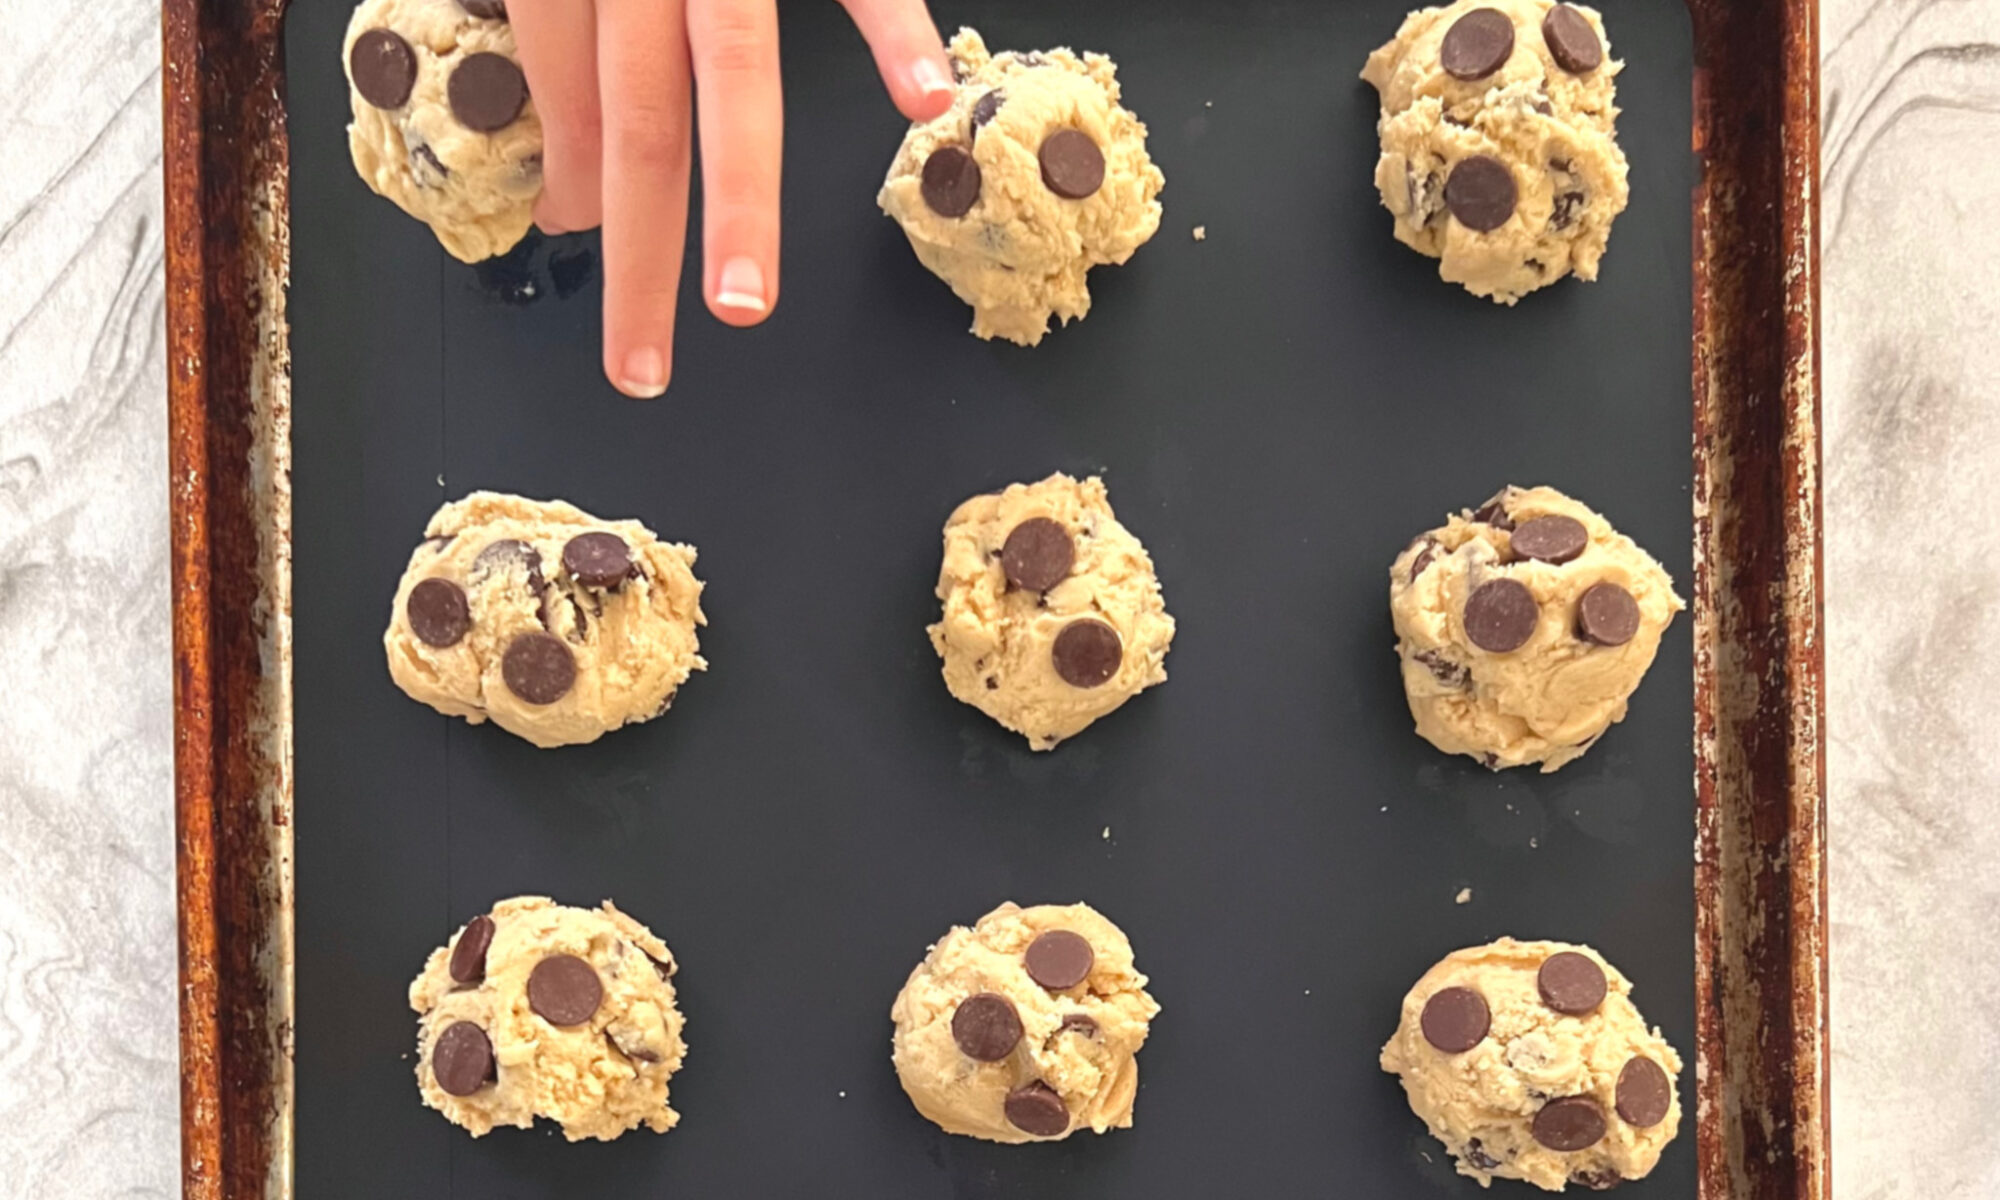
7. Roll 2-3 TBS (depending on how large you like your cookies) of dough at a time into balls and place them, evenly spaced, on your prepared cookie sheets. (Alternatively, you can use a small cookie scoop to make your cookies).
8. Make the other half of the dough. Add ½ cup of chocolate chips and ½ cup of the other chips. Mix these into the dough. Form into cookies, as you did in the previous step.


Checklist
o My ingredients are set out and ready.
o My equipment is set out and ready.
o I have cleaned the counter where I will prepare food.
o I washed my hands with antibacterial soap.
o I have gathered my safety gear (oven mitts).
o The oven is set to the correct temperature.
o I wrote a hypothesis.

Chocolate Chip Cookie Lab - Observations
When you slide the pan into the heated oven, it sets off a series of chemical processes and reactions that transform the reactants in the dough to cookies.
Butter Melts First
When you put the cookies in the oven, the dough starts to heat up. As it does, a series of processes happen, starting with butter. The melting point of butter is 92F. The melting point of most nondairy substitutes is even lower. When the butter starts to melt, the dough spreads.
Butter is made of water, fat, and milk solids. At 100F, the water in the butter starts to steam as the butter is melting. When water steams, it needs to escape the dough. This causes the cookies to expand.
Taking Shape
When the dough reaches 150F, proteins in the egg (or egg substitute) begin to take shape. They go from runny to solid.
Water Boils in Cookies, Too
When the dough reaches 212F, water boils away, drying out the cookies.

Chocolate Chip Cookie Chemistry Lab
Leavening Agents
As the water boils away, the baking soda reacts with a type of chemical, called an acid, in the dough. Baking soda is a leavening agent. A leavening agent is a chemical added to dough or batter that, in the cooking process, goes through a chemical reaction.
One of the products of the reaction is a gas (carbon dioxide) that causes the dough to rise. This creates airy pockets in the cookies.
Chocolate Chip Cookie Aroma
When the dough reaches 310F, a chemical reaction called the “Maillard reaction” occurs. When this reaction occurs, sugar and proteins react with each other. At this point, the cookies begin to brown. The Maillard reaction gives cookies a characteristic flavor. You can smell this reaction occurring when you start to smell the cookies.
The Maillard reaction is discussed more in depth through the course.
Caramelizing Sugar
When the dough reaches 356F, sugar in the cookies undergoes a chemical change. This is called caramelization. Caramelization changes the taste of the cookies to have a slightly caramel flavor.

Turn Baking Into a Homeschool Science Activity
Exploring the science behind baking can transform a simple recipe into an engaging learning experience for young minds. By using this recipe as a homeschool science activity, you can teach valuable lessons about chemical reactions, observation, and the scientific method—all while enjoying delicious homemade cookies. From the Maillard reaction to the role of leavening agents, every step in this tasty experiment brings chemistry to life in a fun, hands-on way. So, gather your ingredients, hypothesize, and bake your way to both learning and sweet satisfaction!
Don't Forget Your Lab Sheets!
Don’t forget to download the lab sheets to enhance your homeschool science activity! With the lab sheets in hand, this baking experiment becomes an exciting opportunity to blend hands-on learning with tasty treats. Print them out, gather your ingredients, and get ready for a delicious dive into kitchen chemistry!
Explore More: Chemistry Courses and Free Homeschooling Resources
This article is a sneak peek into an upcoming kitchen chemistry course designed to make science fun, engaging, and delicious! Packed with hands-on experiments like this chocolate chip cookie lab, the course will explore the fascinating chemical processes that happen right in your kitchen. Stay tuned for its release, and in the meantime, check out some of our other chemistry courses that dive into topics like atoms, molecules, the periodic table, chemical reactions, and more.
Did you know that this article was originally published in our free online magazine, which features educational content, creative ideas, and other essential homeschool resources?! Don’t miss out—sign up today and get inspired to bring science to life in your homeschool!


