Homeschool Science Fun: Candy Rock Cycle Activity
Blair H. Lee, M.S.
Looking for Something to Do with All That Leftover Candy...
As research for this homeschool science activity, I put a poll in the SEA Homeschoolers Facebook group to learn which candy most people would be throwing out sometime between November and March. What I learned surprised me. It truly was a situation where one person’s trash was another person’s favorite candy. Take Tootsie rolls for example. I was a young child when I decided that Tootsie Rolls were yucky. What could that chewie, fake chocolatey sweet be made of? And why are they foisted on young people as if they are treat? Could it be that they are just inexpensive to make? That’s the answer I settled on. Much to my surprise, we have many SEA members who list Tootsie Rolls as their favorite candy. And licorice, obviously the best candy in the world, was not well liked at all. But no matter what candy you are thinking of throwing out over the next few months, this activity is for you!
Materials
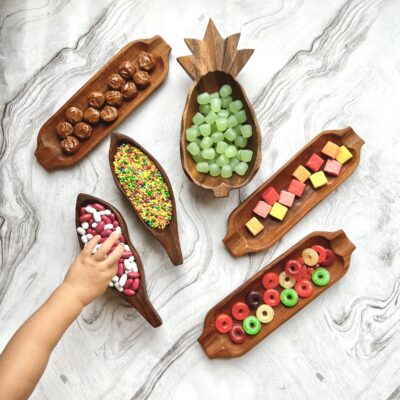
- Candy: It helps if there’s chewy candy in the mix. This lab is more difficult if all the candy is hard. Even if you would typically eat them, a few Starbursts or fruit rollup pieces, with their low melting points, should be included.
- Scissors, knife, and/or mallet (depending on the candy type)
- Plastic Bag
- Cutting board
- Microwave
- Heavy book
Procedure
1. Unwrap the candy. On your activity sheet, where it says “Any Type of Rock” draw a picture of your candy pile.
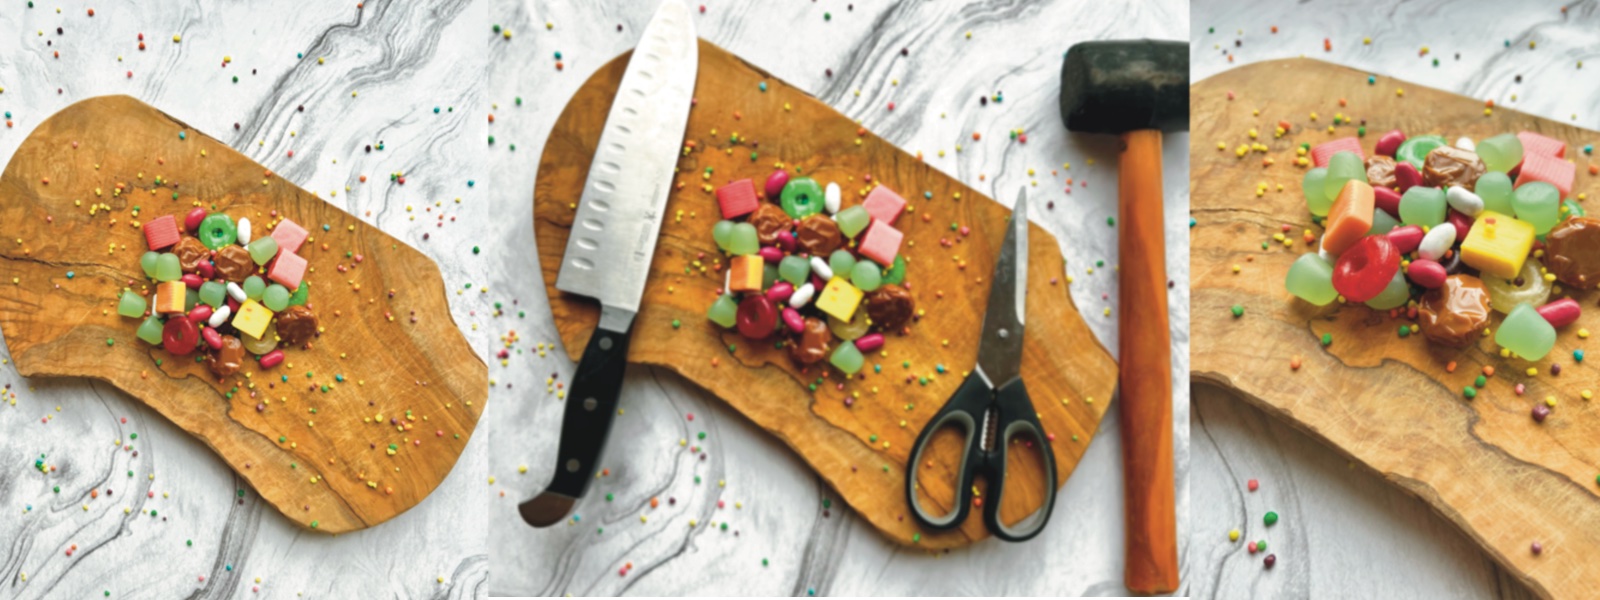
2. Weather the candy. Weathering is the process of breaking down rocks. Use your weathering tools (scissors, knife, and/or mallet) to break the rocks down. Draw a picture of this in the box that says “Sediments.”
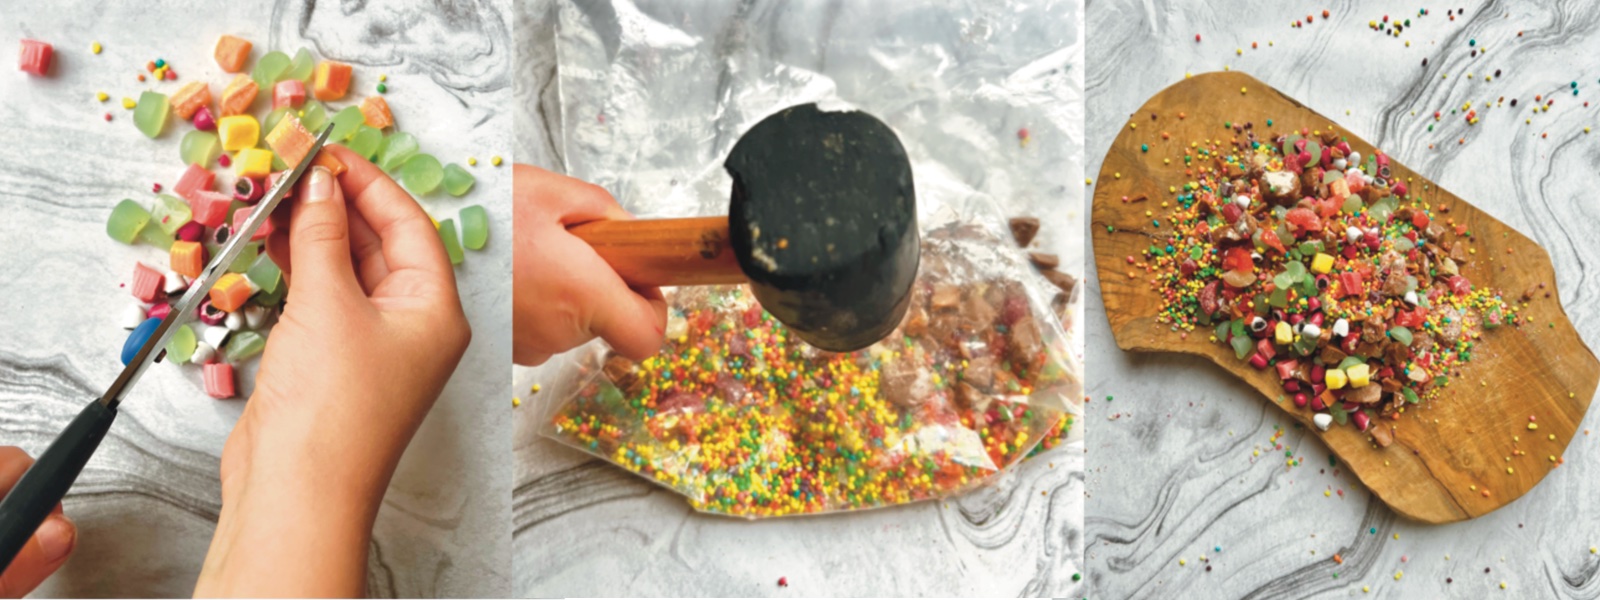
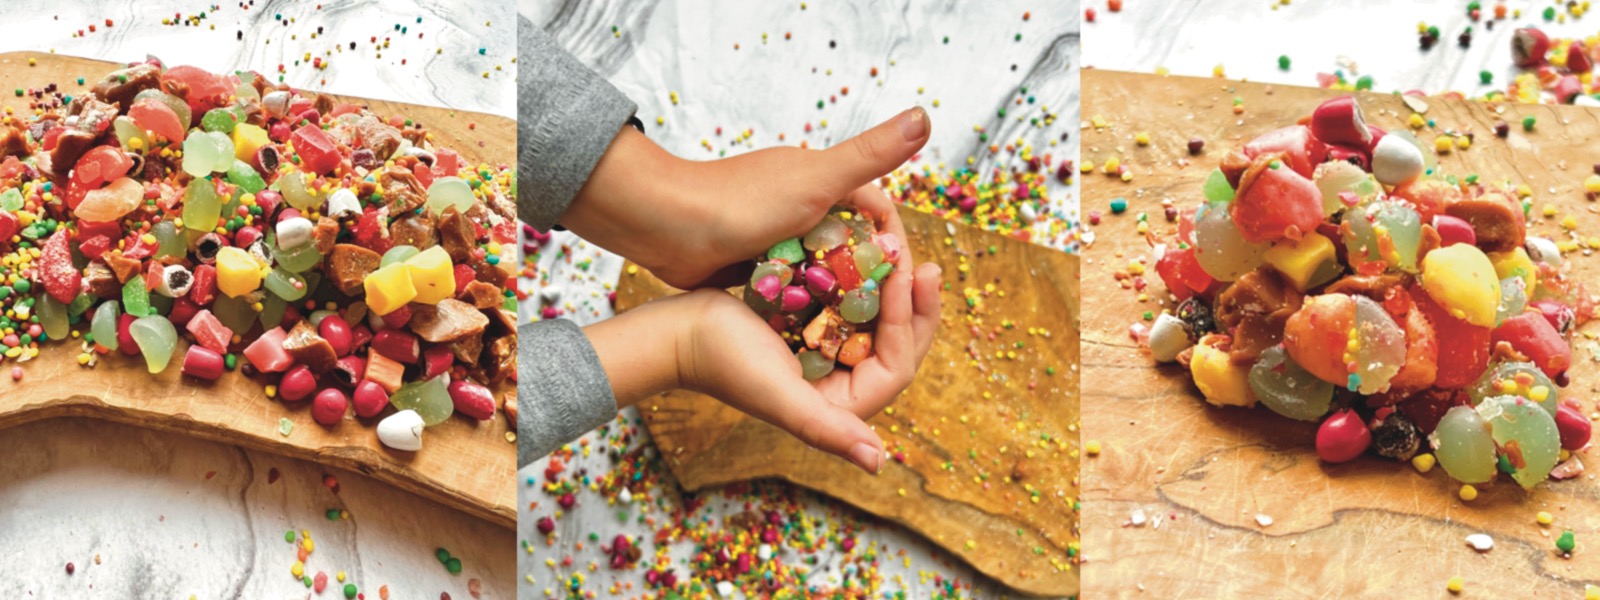
3. Divide the sediments into three piles. Take one of the piles and knead it with your hands. Press down on it once it softens, and then knead it a bit more. Press down once more. That compaction of the sediments is how sedimentary rock forms. Draw a picture of this in the box labeled “Sedimentary Rock.”
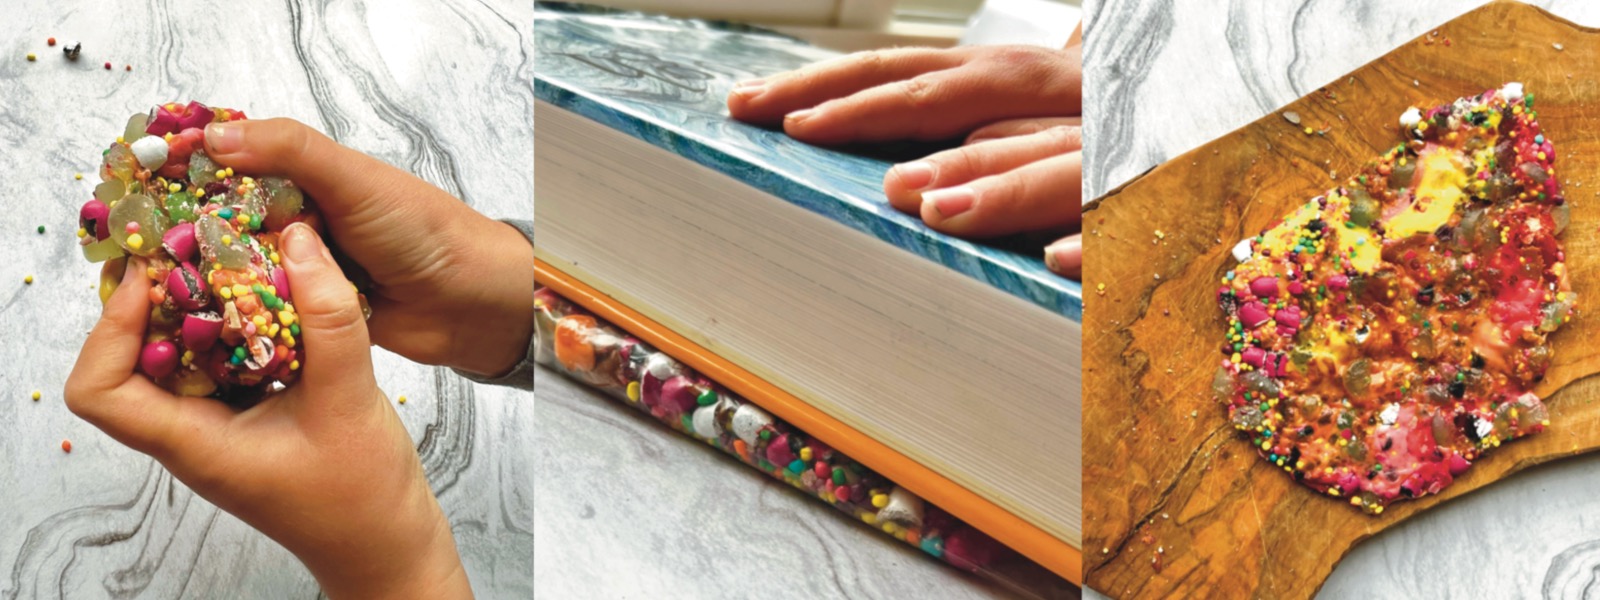
4. Put one of the piles of sediment into the plastic bag. Knead this until it sticks together. Press down on this with the heavy book. Heat this for 10 seconds. Make sure it is not too hot. Continue kneading and folding. And pressing with the book. Fold it at least 5 times. Melting, folding, and cooling under pressure models how metamorphic rock forms. Take it out of the baggie and draw a picture of this in the box labeled “Metamorphic Rock.”
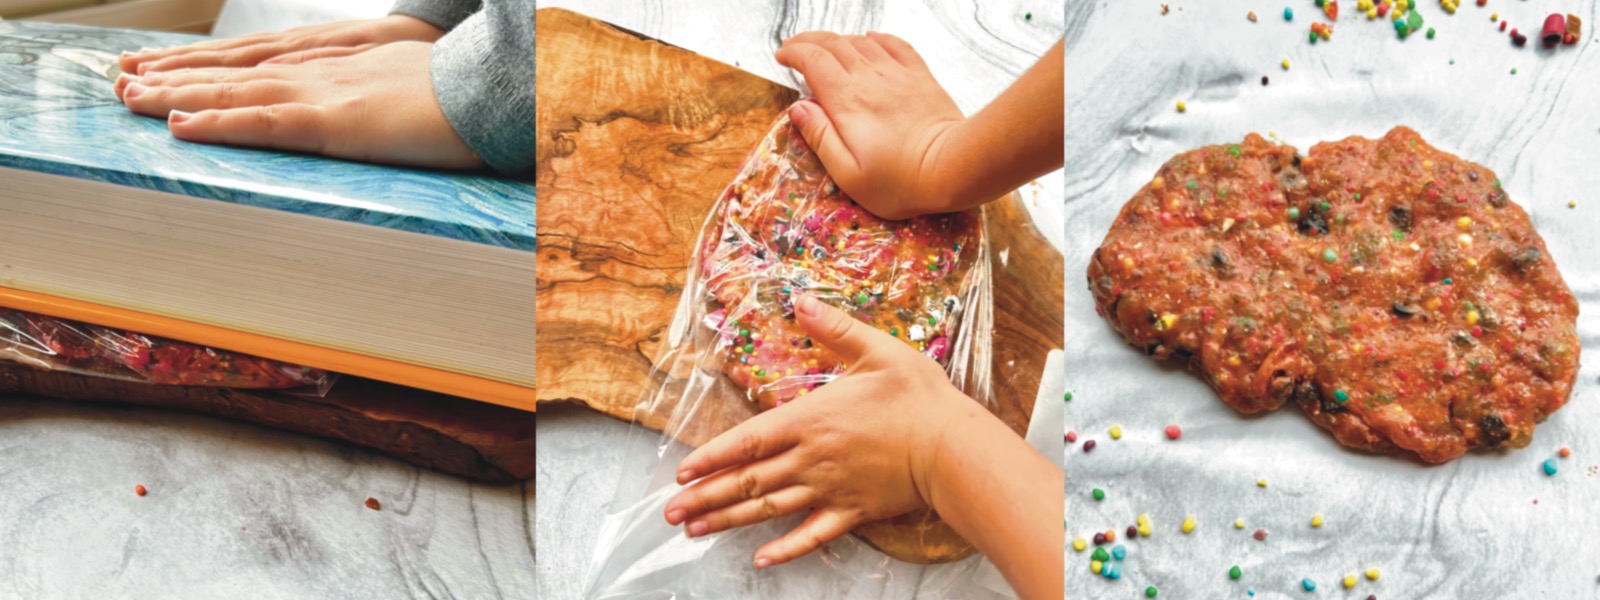
5. Put the last of the piles of sediment into the baggie. Heat this for 20 seconds. Make sure it is not too hot to hold. Knead it until it starts to cool. Press on it with the book in between melting and kneading. Repeat this until the candy is melted and well mixed. Melting under pressure models how igneous rock forms. Draw a picture of this in the box labeled “Igneous Rock.”
Don't Forget to Grab this Homeschool Science Lab Sheet!
Ready to explore the wonders of geology with this homeschool science activity? Be sure to review the different stages of rock formation with your students at every stage of the process to help solidify their understanding. And don’t forget to download the lab sheet to guide you through each step and reinforce the learning!

