Science Teaching Methods: Build a Mini Planetarium

Science Teaching Methods: Tall tree silhouette with man silhouette against a dark night sky full of stars

Science Teaching Methods: How to Build a Mini Planetarium

Blair Lee, M.S.

Hands On Science Teaching Methods

Introducing new science teaching methods can transform the way children understand and engage with scientific concepts. One effective approach is through hands-on projects that bring the wonders of the natural world right into your home.

In this activity, we’ll show you how to create a simple, homemade star projector using everyday materials, offering an engaging way to learn about constellations and the night sky. This project encourages children to use observation and fine motor skills while exploring the stars from the comfort of their own home—perfect for homeschooling families looking to make science both fun and meaningful.

Materials

  • Shoe box
  • Scissors
  • Cardstock 
  • Star chart for your latitude  or optional but highly recommended a star map you made while stargazing
  • Pen or pencil
  • Pin
  • Tape
  • Flashlight
  • Books
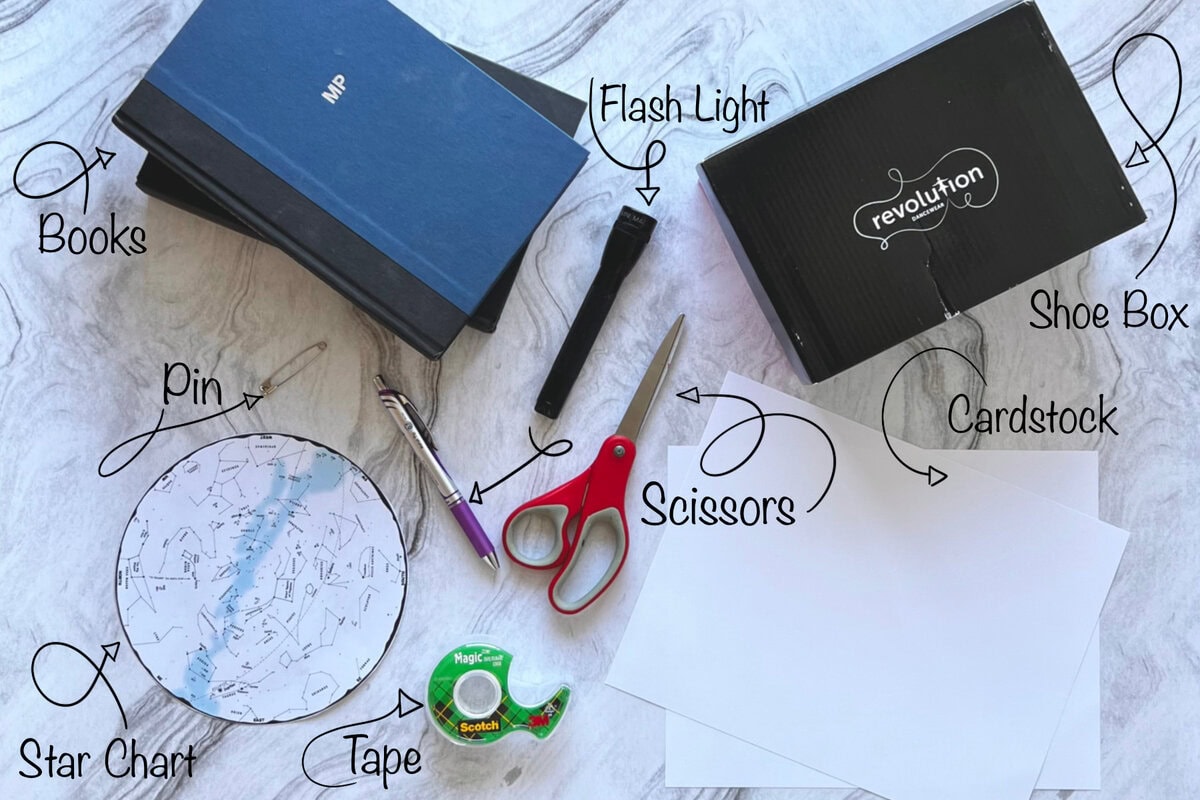
Sciene Teaching Methods: Flat Lay of Items Needed for Mini Planetarium Project: Books, Shoe Box, Pin, Pen, Flash Light, Scissors, Star Chart, Tape, Card Stock

Procedure

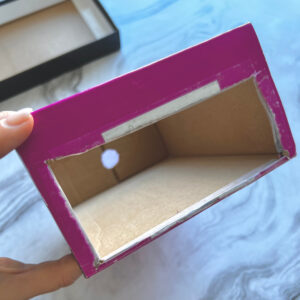
1. Remove the lid from shoe box to work on the bottom (lidless) box. On one of the small-sided ends of the bottom box draw a circle the same circumference as the handle end of the flashlight. Cut a hole just big enough for this end of the flashlight to fit into.

2. On the opposite side of the box, cut out a rectangle that is almost that entire section. You just need a small lip to attach the paper to.
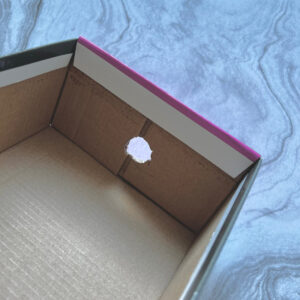
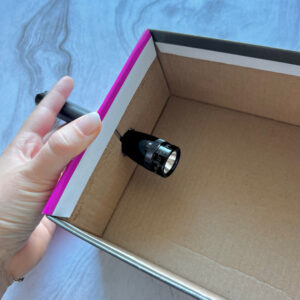
Build a Mini Planetarium Project: Hole Cut in Bottom of Shoe Box for Flashlight to Fit Through for Planetarium Project
How to Build a Mini Planetarium: Flash Light in Bottom of Shoe Box for Planetarium Project
How to Build a Mini Planetarium: Hole Cut in Bottom of Shoe Box for Planetarium Project

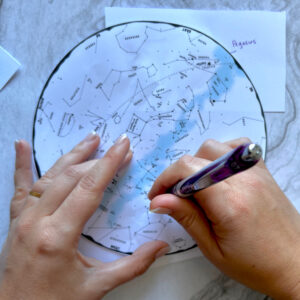
3. Using the star chart or your star map, draw dots on the card stock showing the stars in your night sky. 

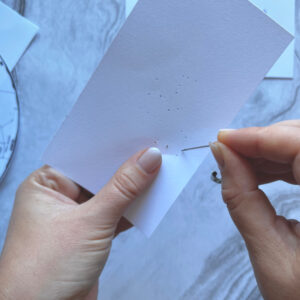
4. Poke holes through the dots with a pin.
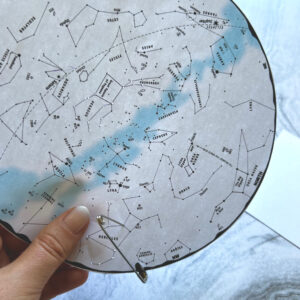
Science Teaching Methods: Poking Hole Through Star Chart with Pin - Step 3 of How to Make a Mini Planetarium
How to Make a Mini Planetarium: Drawing Dots on Card Stock Using Star Chart
Science Teaching Methods: Poking Holes in Card Stock to Align with Star Chart for Mini Planetarium Activity

5. Put the card stock over the rectangular hole of the box, and tape it in place.

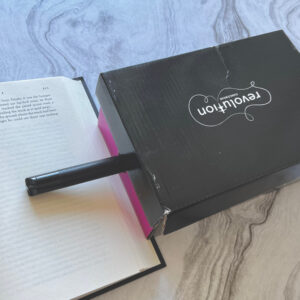
6. Slide the flashlight in from the inside of the box, so that the head of it is in the box. Make sure you can turn the flashlight on and off when the lid is on the box. Support the end of the flashlight that is outside of the box with a stack of books. Put the lid on the box.
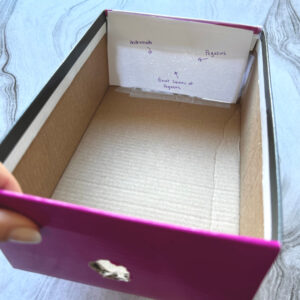
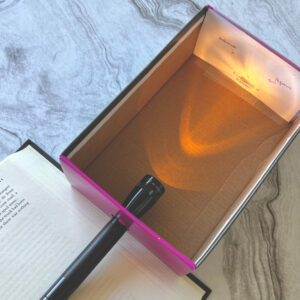
How to Build a Mini Planetarium: Card stock with holes poked for stars taped to the open end of the shoe box.
Science Teaching Methods: How to Build a Mini Planetarium - Flash light in show box pointing at star card to demonstrate how mini planetarium projector is to be set up. Flash light handle resting on a book.
How to Make a Mini Planetarium: Mini Planetarium Projector Set-Up: Shoe Box with Lid On, Flashlight Handle Coming Out of Box and Resting on a Book.

7. In a darkened room, turn on the flashlight, and project your constellation onto a wall. 

8. Quiz your friends or family to see if they can identify the different constellations.
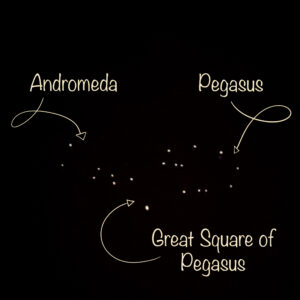
Science Teaching Methods: How to Make a Mini Planetarium - Star Projection of Andromeda, Pegasus, and the Great Square of Pegasus
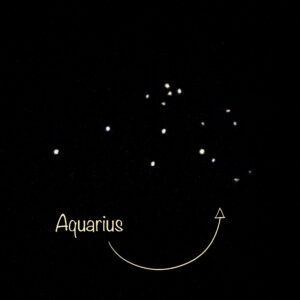
How to Make a Mini Planetarium: Star Projection of Aquarius
How to Make a Mini Planetarium: Star Projection of Hercules

Let the Science Fun Continue!

With a few simple materials and some creativity, science teaching methods like this star projector activity can make learning an adventure right in your own home. Not only does this project spark curiosity and excitement, but it also gives children a hands-on way to connect with the night sky and deepen their understanding of astronomy. Activities like these help build critical thinking and observational skills, fostering a love for science that can last a lifetime. So, dim the lights, turn on your projector, and watch your children marvel as they explore the universe from their very own living room!

Not ready for the planetarium fun to come to an end? For those ambitious enough to want a larger and more detailed planetarium build, check out this Build Your Own Planetarium project from Space.com.

Also, be sure to check out The Stargazer’s Notebook for a more in-depth look into the the stars, planets, and celestial objects that occupy our skies.




Homeschool Science: An Edible Fossil Hunt Activity

Homeschool Science Edible Fossil Dig - Little Boy Digging Through Cookie to Find Fossils (Candy)

Homeschool Science: An Edible Fossil Hunt Activity

Blair H. Lee, M.S.

Homeschool Science Activity: Digging into the Past

Excerpted from Real Science Odyssey – Biology 1

Have you ever imagined uncovering ancient treasures hidden beneath the Earth’s surface, finding clues about the plants and animals that lived millions of years ago? If so, you’ve pictured the life of a paleontologist! These scientists are dedicated to studying fossils, the preserved remains of creatures and plants from the distant past. Their work involves more than just digging in the dirt—they also spend time in labs carefully studying and identifying the fossils they uncover.

While many people think fossils are always large, some are so small they can be hard to spot. But don’t worry—you won’t be hunting for tiny fossils today! Instead, you’ll participate in a fun and creative fossil dig at an ancient seabed filled with different types of fossils. In this free homeschool science activity, the fossils are represented by snacks like raisins, M&M’s, nuts, and pretzels. The raisins and nuts represent plants, while the M&M’s and pretzels represent animals. Just like real fossils, the deeper you dig, the older the remains you will find. After your exciting dig is complete, you’ll get to enjoy your edible discoveries as a tasty reward!

Homeschool Science Edible Fossil Dig - Little Boy Digging Through Cookie to Find Fossils (Candy)

Materials

Instructor’s Note: This is more fun if you have baked the cookies before this homeschool science lab begins, without students seeing where the “fossils” are hidden.

Read through steps 1-7 of the procedures before making the cookies. 

  • 8in x 8in Pan
  • *Batch of cookie dough (you choose what type – if choosing chocolate chip cookie dough as your base, omit the chocolate chips)
  • 1/2 cup coconut or pretzels (broken into 1/4 inch pieces)
  • 1/3 cup of Red M&Ms
  • 1/4 cup Yellow M&Ms
  • 1/3 cup Peanuts
  • 1/4 cup Walnuts
  • 1/2 cup Raisins
  • Chocolate Bars – Enough to lay side by side and cover the entire 8in x 8in surface area, do not be stingy with this! (You can substitute frosting, if you prefer)
  • 2 Toothpicks per Student
  • Lab Sheets
  • Pen or Pencil
  • 6 Different Colored Pencils – One for each type of “fossil”
  • Knife
  • Spatula
  • Plate

* The ingredients for the cookies depend on the cookie recipe you choose.

Ingredient Add Ins for Fossil Dig Activity - Pretzels, MMs, Chocolate Bars, Peanuts, Raisins, Walnuts
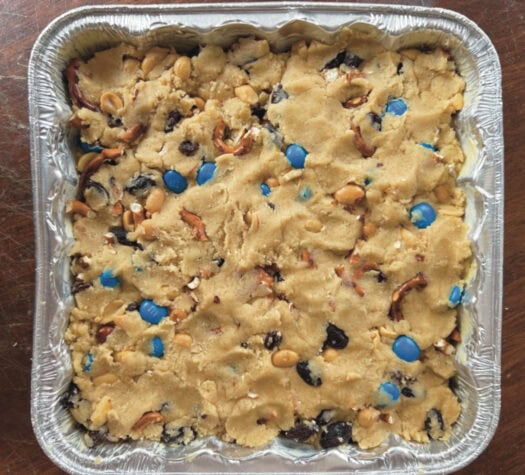
Fossil Dig Homeschool Science Activity Cookie Bars in Pan Ready to Bake

Preparing the Dig Site

  1. Make the cookie dough per the recipe instructions.
  2. Before baking, mix together the raisins, the red M&Ms, 1/3 cup of coconut/pretzels (rest will be used at a later step), and peanuts. Add this mixture to the cookie dough. Do not try to evenly distribute these add-ins.
  3. Spread the dough into the 8in x 8in pan. Even though the distribution is not uniform, make sure that there are some “fossils” in each 4-inch square of cookies. There will be four squares total.
  4. Bake the cookies following the directions for bar cookies from your cookie dough recipe.
  5. Once the cookies have finished baking, sprinkle the walnuts, remaining pretzels/coconut, and yellow M&Ms on top of the cookies.
  6. Lay the chocolate bars on top of the cookies, covering all of the walnuts, pretzels/coconut, and M&Ms.
  7. Place this cookie pan back into the warm (but off) oven until the chocolate on top has melted. The chocolate should be covering all the items to some degree, including those layered on top.
  8. Once chocolate has melted, place in the refrigerator until chocolate has hardened.
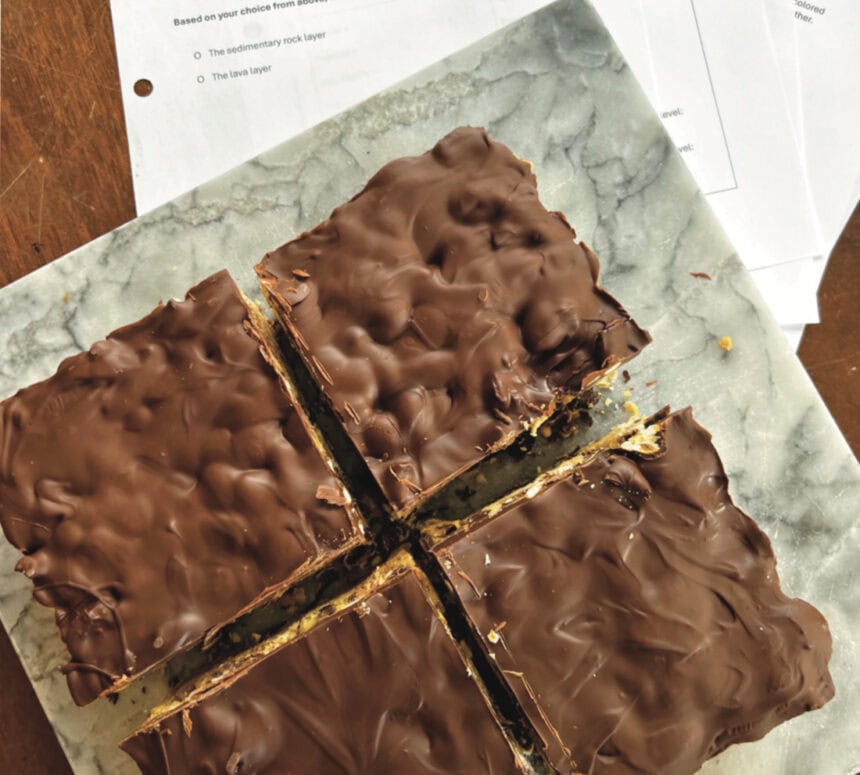
  9. Cut the cookies into 4-inch squares to match the grid on page 1 of the lab sheet. *If you need more than four squares, quarter each square for a total of sixteen 2-inch squares. Use a pen and a ruler to change the grid on page 1 of the homeschool science lab sheet and add these to the bar graph. Each of the squares is called a quadrant.
Fossil Dig Cookie Bars Completed and Cut into Quadrants with Homeschool Science Lab Sheets

Digging for Fossils

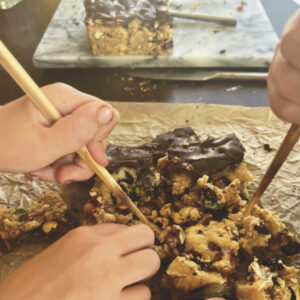
  1. Use the spatula to take out one cookie square and put it on a plate. Have students answer the first two questions on their lab sheet.
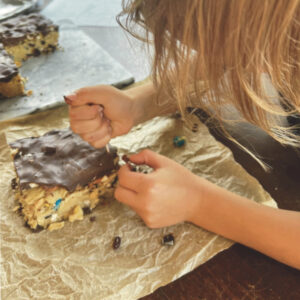
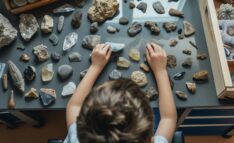
  2. Let the students get to work, using the toothpicks to separate and group the materials. There should be seven piles, one for each type of “fossil”: raisins, red M&Ms, yellow M&Ms, peanuts, walnuts, pretzels/coconut, and one for cookie crumbs. Take note of the layer in which each item is found.
  3. When the students are done with a quadrant, they will make note the number of each fossil found in that quadrant. They will examine all quadrants.
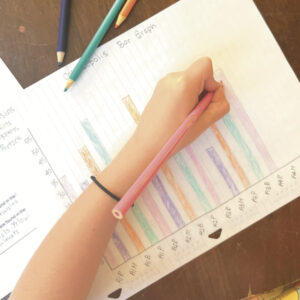
  4. After digging through all quadrants, students will put their results into the bar graph and answer the questions on the homeschool science lab sheet.
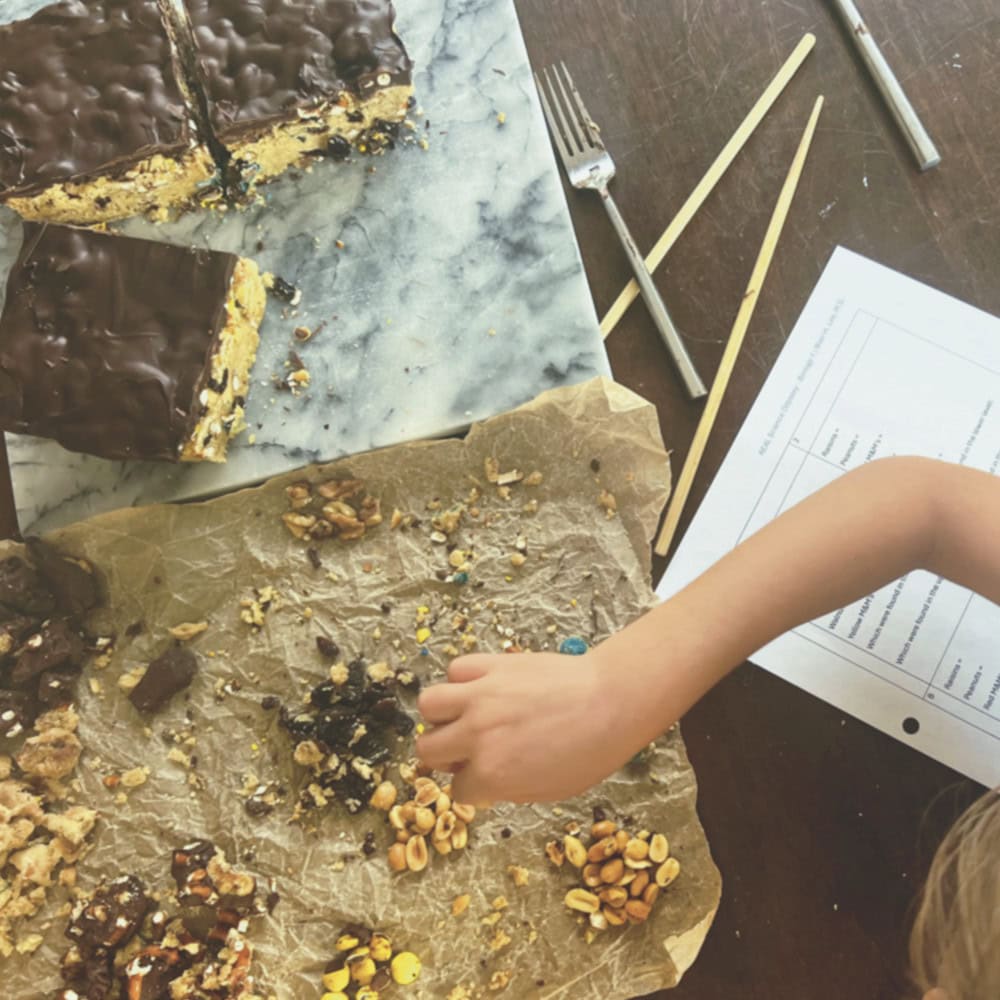
Homeschool Science Edible Fossil Dig - Two Children Digging Through Cookie to Find Fossils (Candy)
Edible Fossil Dig - Two Children Digging Through Cookie to Find Fossils (Candy)
Homeschool Science - Edible Fossil Dig - Childs Hand Filling Out Bar Graph
Edible Fossil Dig - Little Boy Digging Through Cookie to Find Fossils (Candy)

Instructor's Notes

If this is the first bar graph students have made, be prepared to help them. You might need to scaffold the instruction by doing the bars in the graph for quadrant A1.

To make cookies vegan: make the base recipe for chocolate chip cookies without eggs and substitute a vegan butter.

To make the cookies dairy free: use a dairy free butter substitute.

In the demo, blue M&Ms were subbed for red because that is what was available. Feel free to swap colors as needed but make sure that the two colors you use are easily distinguishable.

More homeschool science lab fun: Use a search engine to see if there is a dig site in your area and visit it!

Keep the Homeschool Science Fun Going!

We hope you enjoyed participating in this homeschool science hands-on learning activity with your students! If you are interested in learning more key science concepts through an incremental series of lessons and hands-on exploration, be sure to check out REAL Science Odyssey.